
Tired of those plastic bottles cluttering up your bathroom? Or maybe you’re curious about a more natural way to care for your hair? DIY shampoo bars might just be the answer. They’re simple to make, better for the environment, and you can customize them to suit your hair’s needs. Plus, there’s something oddly satisfying about creating your own beauty products. Let’s jump into what makes these bars so special and how you can make them at home.
Key Takeaways
- DIY shampoo bars are customizable and eco-friendly.
- Natural ingredients make them better for your hair and the planet.
- Follow a step-by-step process for successful results.
- Avoid common mistakes to ensure high-quality bars.
- Proper storage extends the life of your shampoo bars.
The Allure of DIY Shampoo Bars
Why Opt for DIY Shampoo Bars?
DIY shampoo bars are becoming a go-to choice for so many reasons. One standout reason is the control you have over the ingredients. You get to skip the long lists of chemicals and go straight to natural, hair-loving components. Plus, you can customize the formula to suit your hair type—whether it’s oily, dry, or somewhere in between.
Here are a few more reasons why people are making the switch:
- Eco-Friendly: Traditional shampoos often come in plastic bottles, which contributes to waste. Shampoo bars cut that out entirely.
- Cost-Effective: While the upfront cost might seem high, each bar lasts longer and costs less in the long run compared to premium liquid shampoos.
- Tailored to You: Add essential oils or butters to address specific needs like scalp health or hydration.
Benefits of Switching to Homemade Hair Care
Making your own shampoo bars isn’t just fun—it’s a way to improve your hair care routine. Homemade bars are free from harsh sulfates and synthetic fragrances, which are common irritants. Instead, they’re packed with natural oils and butters that nourish your hair and scalp.
Key benefits include:
- Healthier Hair: You’ll notice softer, shinier strands thanks to the absence of drying chemicals.
- Skin-Friendly: Sensitive scalps will appreciate the gentle formulas.
- Sustainability: Using natural, biodegradable ingredients is better for the planet.
Switching to DIY shampoo bars is like giving your hair a fresh start—natural, gentle, and effective.
How DIY Shampoo Bars Support Sustainability
When you make your own shampoo bars, you’re taking a step towards a greener lifestyle. These bars eliminate the need for plastic packaging and often use locally-sourced or organic ingredients. Plus, because they last longer, you’re reducing consumption overall.
Sustainability perks include:
- Less Plastic Waste: No bottles mean no trash.
- Biodegradable Ingredients: Safe for the environment when washed away.
- Energy Efficient: Bars require less energy to produce and transport compared to liquid shampoos.
Making the switch isn’t just about hair care—it’s about caring for the world around you.
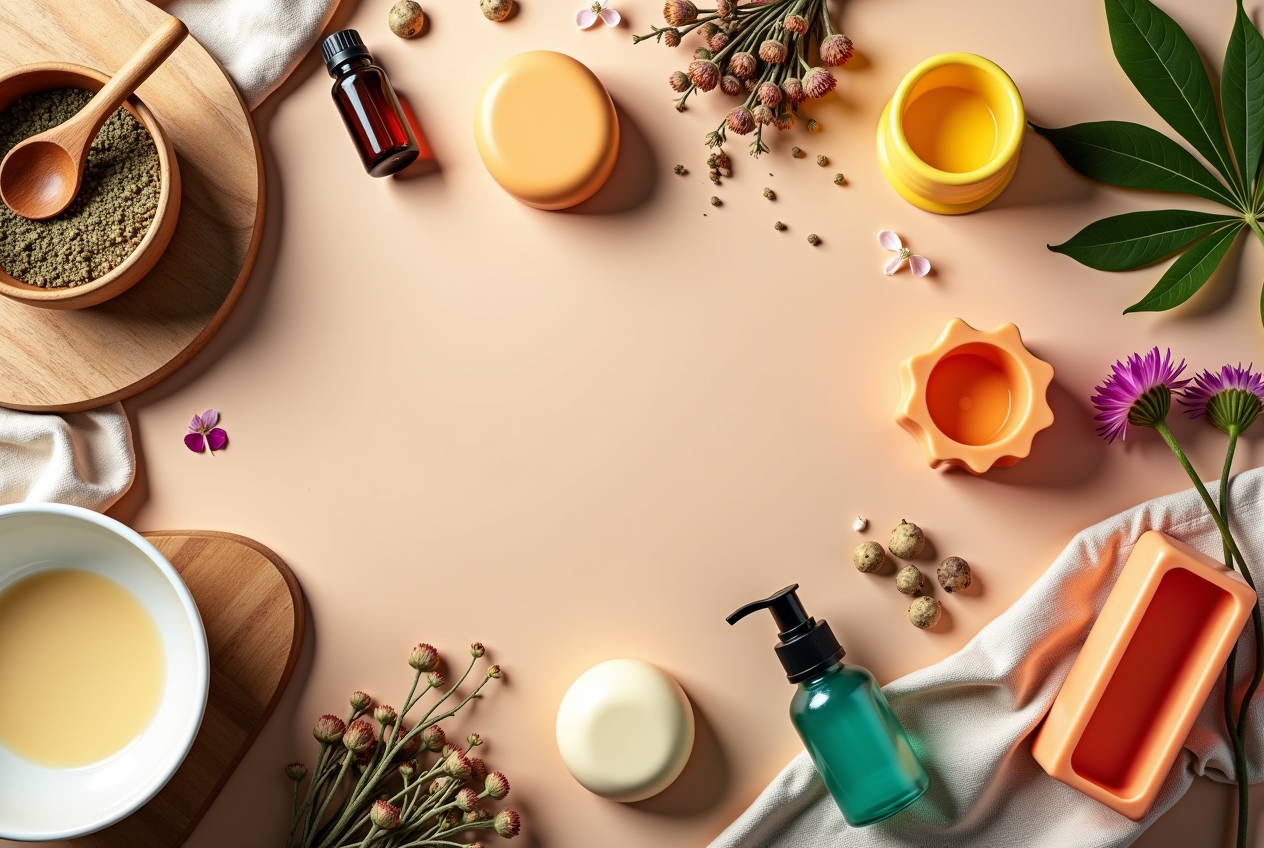
Essential Ingredients for DIY Shampoo Bars
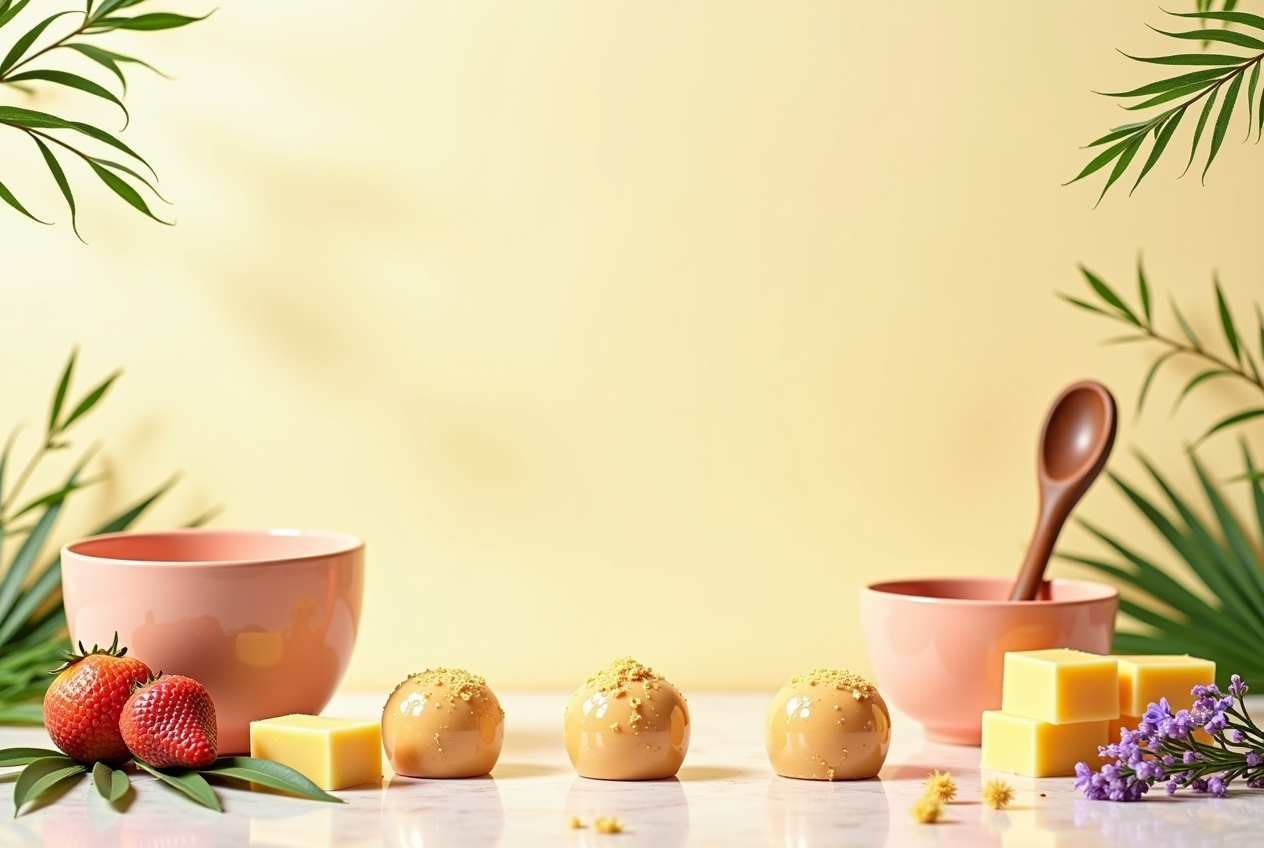
Choosing the Right Oils and Butters
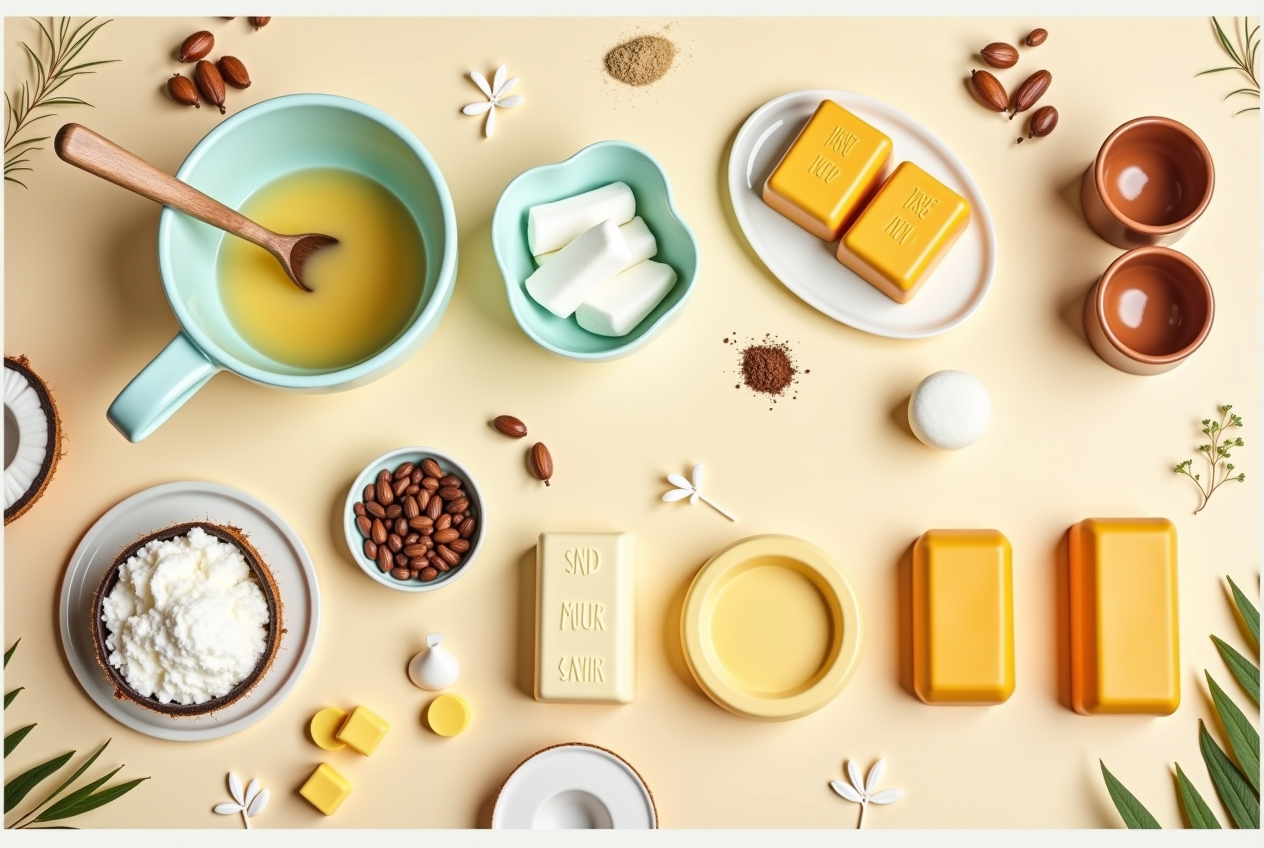
The foundation of any great shampoo bar is the combination of oils and butters. These aren’t just for texture—they’re what make your bars nourishing and effective. Coconut oil is a superstar for creating a rich lather, while olive oil is super gentle and hydrating. Shea butter adds a touch of luxury, giving your hair a moisture boost. For those who want to experiment, try castor oil for shine or avocado oil for extra conditioning. The key is to balance oils that cleanse with those that hydrate.
Understanding the Role of Lye in Soap-Making
Lye, or sodium hydroxide, is non-negotiable if you’re making shampoo bars from scratch. It’s what transforms oils into soap through a process called saponification. Yes, it sounds intimidating, but don’t worry—when handled correctly, it’s perfectly safe. Always wear gloves and goggles, and mix it in a well-ventilated area. Once the chemical reaction is complete, there’s no lye left in the final product, leaving you with a gentle, hair-friendly shampoo bar.
Adding Essential Oils for Customization
Here’s where you can really make your shampoo bars your own. Essential oils not only add fragrance but can also bring specific benefits for your scalp and hair. Lavender oil is calming, tea tree oil is great for an itchy scalp, and ylang-ylang adds a floral touch. Aim for about 0.5 ounces of essential oils per batch to keep the scent noticeable but not overpowering. Mix and match to find your perfect blend—just make sure to research the properties of each oil first.
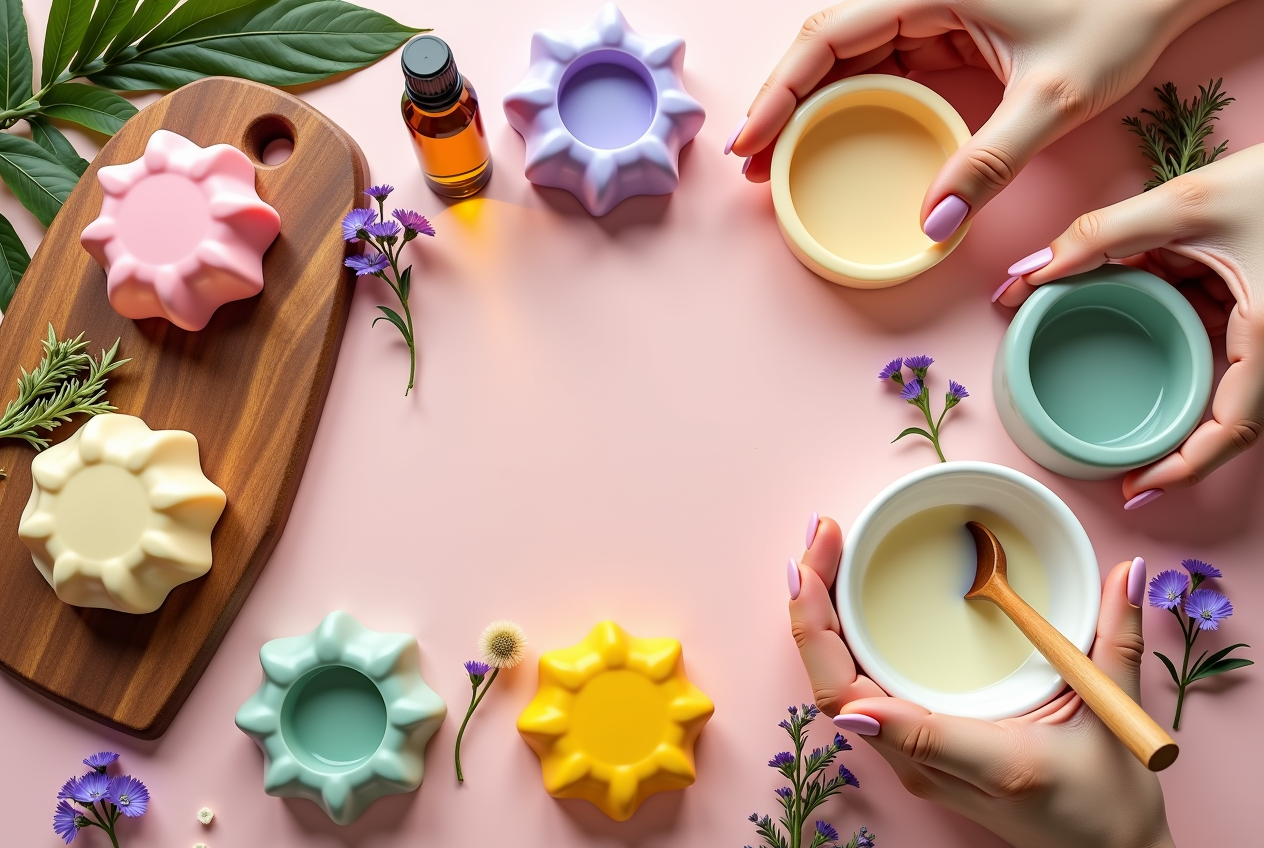
Step-by-Step Guide to Making DIY Shampoo Bars
Safety Precautions Before You Begin
Safety first! Before diving into the shampoo bar-making process, make sure you’re prepared. Suit up with gloves, goggles, and a face mask to protect yourself. Lye, a key ingredient, can be dangerous if mishandled. Always work in a well-ventilated space, and keep kids and pets out of the area. Lay down some old newspapers to catch any spills and have vinegar on hand to neutralize lye if it comes into contact with your skin.
Mixing and Molding Your Shampoo Bars
Let’s break this down step by step:
- Prepare Your Lye Solution: Slowly add lye to water (never the other way around!) and stir until dissolved. This mixture gets hot, so let it cool while you prep the other ingredients.
- Melt Your Oils and Butters: In a double boiler or microwave, melt your chosen oils and butters, like coconut oil or shea butter, until fully liquid.
- Combine the Mixtures: Once the lye solution and oils are at similar temperatures (around 100°F), carefully mix them together. Use a stick blender to achieve “trace,” where the mixture thickens to a pudding-like consistency.
- Add Extras: Stir in essential oils, botanical powders, or other additives for scent and benefits.
- Pour Into Molds: Transfer the mixture into silicone molds or a loaf pan. Smooth the tops and tap to remove air bubbles.
Curing and Storing for Longevity
Patience is key! Let the bars sit in their molds for 24-48 hours until firm enough to remove. After unmolding, place them on a drying rack in a cool, dry spot for 4-6 weeks. This curing time allows the bars to harden and ensures they’re safe for use. Store the finished bars in a sealed container or wrap them in wax paper to keep them fresh and long-lasting.
Making your own shampoo bars is like a mini science experiment that gives you total control over what goes on your hair. Plus, it’s incredibly satisfying to create something you’ll use every day.
Best Practices for Perfect DIY Shampoo Bars
Ensuring High-Quality Results
Start with top-notch ingredients. High-quality oils like coconut, olive, or castor oil and pure essential oils make all the difference. Subpar ingredients can affect not only the shampoo bar’s performance but also your hair’s health. Use a kitchen scale to measure everything precisely—eyeballing can lead to bars that are too soft or crumbly.
Avoiding Common Mistakes
- Skipping Safety Gear: Always wear gloves and goggles when handling lye. It’s not optional—it’s a must for safety.
- Rushing the Mixing Process: Mix your lye and oils until you reach “trace,” where the mixture thickens slightly and holds a drizzle on its surface. Skipping this step can result in uneven bars.
- Uncured Bars: Don’t use your bars immediately. Let them cure for 4-6 weeks to harden fully and ensure they’re safe for use.
Tips for Long-Lasting Bars
- Select the Right Mold: Silicone molds are great for easy release, but if you’re using a wooden mold, line it with parchment paper.
- Store Properly: Keep your bars in a cool, dry spot to avoid moisture damage. A soap dish with drainage can extend their lifespan.
- Consider Climate: If you live in a humid area, curing may take longer. Be patient—it’s worth it!
Taking the time to follow these practices ensures your DIY shampoo bars are not only effective but also long-lasting. Each bar becomes a small yet meaningful step toward a more sustainable and personalized hair care routine.
Environmental Impact of DIY Shampoo Bars
Reducing Plastic Waste with Solid Bars
One of the most immediate and visible benefits of using DIY shampoo bars is the drastic reduction in plastic waste. Think about it—how many plastic shampoo bottles do you go through in a year? Each shampoo bar can replace 2-4 bottles, making it a simple but effective way to cut down on waste. By switching to solid shampoo bars, you’re actively keeping plastic out of landfills and oceans.
Using Natural Ingredients for a Greener Planet
Homemade shampoo bars give you complete control over the ingredients you use. By opting for natural, biodegradable components, you prevent harmful chemicals from entering water systems. This not only protects aquatic ecosystems but also ensures that your beauty routine is as gentle on the earth as it is on your hair.
How Homemade Products Promote Sustainability
Making your own shampoo bars at home reduces the need for mass production and shipping, which are both resource-intensive processes. By cutting out this middleman, you save energy and lower your carbon footprint. Plus, you can choose to source sustainable ingredients, supporting ethical practices and local businesses.
How to Use and Maintain Your DIY Shampoo Bars
Proper Techniques for Lathering and Rinsing
Using a shampoo bar is a little different from liquid shampoo, but once you get the hang of it, it’s simple. Here’s how to do it:
- Wet Your Hair Thoroughly: Make sure your hair is completely wet before applying the bar.
- Lather the Bar: Rub the shampoo bar directly onto your scalp or between your hands to create a rich lather. For best results, focus on the roots where most of the oil and dirt accumulate.
- Massage and Rinse: Use your fingertips to massage your scalp, then rinse thoroughly to remove all soap residue. Repeat if needed.
Storage Tips to Extend Bar Life
How you store your shampoo bar can make a big difference in how long it lasts. Keeping it dry is key.
- Use a Soap Dish with Drainage: Place the bar on a dish that allows water to drain away. This prevents it from sitting in water and turning mushy.
- Store in a Dry Area: After use, keep it in a cool, well-ventilated place, away from direct sunlight and moisture. A linen closet or a shelf in your bathroom works well.
- Cure Before Long-Term Storage: If you’ve made a batch, let the bars cure for at least 24-48 hours before storing them. This helps them harden and prevents issues like mold or bacteria. Learn how to make DIY shampoo bars with tips on curing, storing, and usage.
Travel-Friendly Benefits of Shampoo Bars
Shampoo bars are a traveler’s best friend. They’re lightweight, compact, and TSA-approved since they’re not liquid. Here’s why they’re so convenient:
- No Spills: Unlike liquid shampoo, there’s no risk of spills in your bag.
- Space-Saving: A single bar can replace a bulky bottle, freeing up room in your luggage.
- Eco-Friendly: You’ll avoid single-use plastic bottles, making your travel routine more sustainable.
Switching to shampoo bars isn’t just good for your hair—it’s better for the planet, too. With proper care, these bars can last weeks, making them an economical and eco-friendly choice.
Conclusion
Making your own shampoo bars is more than just a fun project—it’s a way to take control of your hair care routine while being kinder to the planet. By following the steps and tips shared here, you can create bars that suit your hair’s unique needs and reduce waste at the same time. Sure, it takes a little effort and patience, but the payoff is worth it. You’ll have a product that’s not only effective but also something you can feel good about using. So why not give it a try? Your hair—and the Earth—will thank you.
Frequently Asked Questions
What are shampoo bars, and how do they work?
Shampoo bars are solid versions of liquid shampoo. They work by creating a lather when rubbed on wet hair or in your hands, which you then use to clean your scalp and hair.
Are DIY shampoo bars good for all hair types?
Yes, DIY shampoo bars can be customized to suit all hair types. You can adjust the ingredients to match your specific needs, whether your hair is oily, dry, or normal.
Do I need special tools to make shampoo bars at home?
Not really! Basic kitchen tools like a mixing bowl, a spatula, and silicone molds are enough. Just make sure to use gloves and goggles for safety when handling lye.
How long does it take to make and cure shampoo bars?
Making the bars takes a few hours, but curing them requires about 4 weeks. This curing time allows the bars to harden and become safe to use.
Can I travel with shampoo bars?
Absolutely! Shampoo bars are solid, making them spill-proof and TSA-friendly. They’re perfect for traveling since they take up little space and don’t count as liquid.
How should I store my shampoo bars to make them last longer?
Store them in a dry, cool place, away from water when not in use. Using a soap dish with good drainage helps prevent the bar from becoming mushy.
